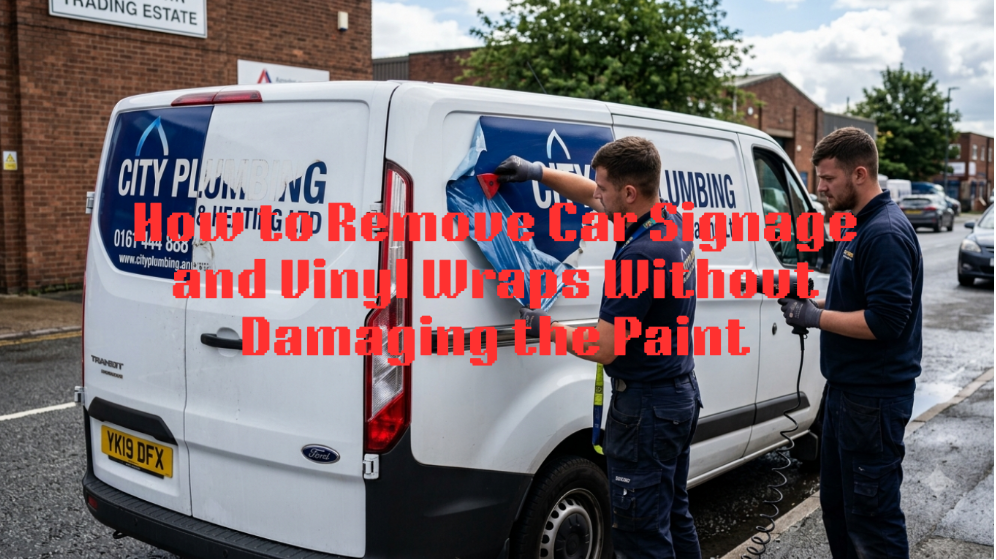
Does your vehicle wrap look faded, peeling, or just outdated? You are not alone. Thousands of car owners and business owners face this exact challenge every year. Whether it is old fleet branding or a personal style change, knowing how to remove car signage and vinyl wraps without damaging the paint is critical before you make a costly mistake. A poorly removed wrap can scratch, stain, or even strip your vehicle’s paint entirely.
In this article, we will take you through everything you need to know, from the right tools to a step-by-step process to ensure safe and clean car signage removal every time.
What Is Signage or Vinyl Wrap?
Vehicle signage and vinyl wraps are large sheets of sticker-backed film that are applied directly to the vehicle’s surface. They are often used for business branding, fleet advertising, colour changes or personalization. They are made from PVC or cast vinyl and can conform to the curves and contours of any vehicle.
Quality wraps can last 3 to 7 years, depending on the material grade, installation quality, and sun exposure. When they reach the end of their lifespan, or a business rebrands, they need to be removed properly to preserve the underlying paintwork.
When Should You Remove a Vehicle Wrap?
Timing matters enormously when it comes to wrap removal. The longer you leave an ageing wrap on, the harder it becomes to remove cleanly. Here are clear signs it is time to act:
- The wrap is visibly cracking, bubbling, or peeling at the edges
- Colours have faded significantly due to UV exposure
- Your business has rebranded, and the signage no longer reflects your brand
- Removing vinyl wrap after 5 years is generally recommended; beyond this point, the adhesive bonds more aggressively to the paint and the vinyl itself becomes brittle.
- The vehicle is being sold or returned to a fleet company
If your wrap is approaching or has passed the five-year mark, do not wait. Act before the film hardens and the adhesive becomes nearly impossible to remove without chemical intervention.
Why It Is Essential to Remove a Car Wrap on Time
Leaving a wrap on past its prime is one of the most common, and most expensive mistakes vehicle owners make. Here is why timely removal matters:
Paint Protection: Over time, UV rays degrade the vinyl, causing the adhesive layer to cure and bond more deeply into the paint’s clear coat. This makes removal far more aggressive on the surface.
Adhesive Residue: Old adhesive turns sticky and thick, requiring strong solvents and more scraping, both of which increase the risk of scratches.
Resale Value: A vehicle with paint damage from a poorly removed wrap loses significant market value.
Legal & Branding Compliance: For business vehicles, outdated or damaged signage can create compliance issues or brand confusion.
The earlier you remove a wrap, the cleaner, faster, and cheaper the process will be.
Factors That Influence the Vehicle Wrap Removal Process
Not every wrap removal job is the same. Several key factors affect how easy or difficult the process will be:
Age of the Wrap: Newer wraps (under 3 years) tend to release more cleanly. Older ones, especially past the 5-year mark, are far more stubborn.
Quality of the Wrap Material: Premium cast vinyl is generally easier to remove than economy calendered vinyl, which becomes rigid and brittle over time.
Sun Exposure and Climate: Vehicles parked outdoors in hot, sunny climates experience accelerated adhesive bonding. It usually requires prolonged heat application and vinyl wrap removal solvent to soften the baked-on adhesive before peeling.
Paint Condition: If the paint was in poor condition or unprotected before the wrap was applied, removal carries a higher risk of pulling paint along with the vinyl.
Surface Type: Removing vinyl from plastic bumpers, mirrors, or trim panels requires extra care, as plastic is more sensitive to heat and chemicals than metal.
Tools Needed to Remove a Vehicle Wrap Safely
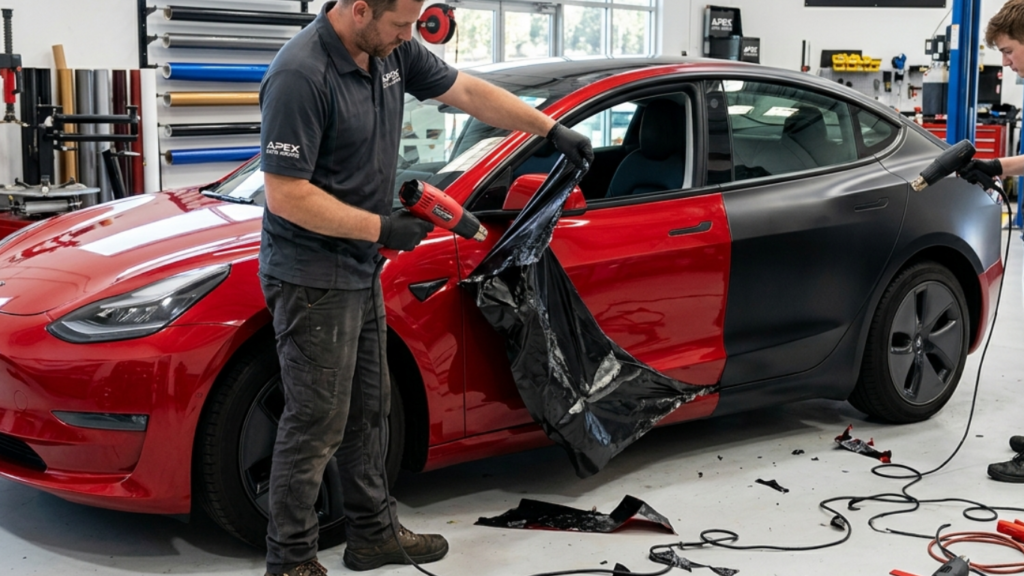
Having the right tools before you begin makes the entire process smoother and significantly reduces the chance of damage:
- Heat gun or industrial hair dryer: Warms and softens the vinyl for easier peeling
- Plastic razor blade or wrap removal tool: Lift edges without scratching paint
- Vinyl wrap removal solvent or adhesive remover: Dissolves leftover adhesive residue
- Isopropyl alcohol (IPA): For a final surface clean after removal
- Microfibre cloths: Soft and non-abrasive for wiping and cleaning
- Gloves and eye protection: For safe handling of solvents
- Masking tape: Protect rubber seals and trim during chemical application
How to Remove Car Wrap Without Damaging Paint
Follow this process carefully for the safest removal of car wrap without damaging paint:
Step 1: Wash the Vehicle
Clean the vehicle thoroughly before starting. Dirt and grit under the removal tool will scratch the paint. Allow it to dry completely.
Step 2: Heat the Vinyl
Using a heat gun set to around 60–80°C (140–176°F), warm a small section of the wrap at a time. Keep the gun moving and hold it approximately 5–8 cm from the surface. The vinyl should feel warm but not blistering hot.
Step 3: Lift the Edge
Use your fingernail or a plastic wrap tool to lift the edge of the heated vinyl. Pull slowly at a low angle (around 15–20 degrees) to avoid tearing and reduce the chance of adhesive staying behind.
Step 4: Peel Gradually
Continue heating as you peel, working in small sections. Never rush. If the vinyl cools and becomes stiff again, re-apply heat. Large sections should be peeled in a steady, controlled motion.
Step 5: Remove Adhesive Residue
Once the vinyl is off, you will likely see adhesive residue left on the paint. Apply a high-quality vinyl wrap removal solvent or a dedicated adhesive remover to a microfibre cloth and gently work it into the residue in circular motions.
Step 6: Clean with IPA
After removing all adhesive, wipe the entire surface with isopropyl alcohol to remove any residual solvent and prepare it for inspection or reapplication.
Step 7: Inspect the Paint
Check the paint carefully under good lighting. Look for any dull patches, scratches, or remaining residue. A light machine polish may be needed to restore full gloss.
Extra Tips to Keep Your Paint Safe
- Always work in the shade or indoors. Direct sunlight heats the panel, making controlled peeling difficult.
- Never let the heat gun sit stationary on any one area for more than 2–3 seconds.
- Test your adhesive remover on a small, hidden area first to ensure it does not affect the clear coat.t
- Work from the top of the vehicle downward to control drips from solvents
- If you encounter a section where the vinyl tears into small pieces and refuses to come off cleanly, stop and apply more heat rather than forcing it
When to Call a Professional for Signage Removal?
Some situations call for professional hands. Consider calling a specialist if:
- Your wrap is more than 5 years old and heavily sun-baked
- The vinyl is tearing into small fragments rather than peeling in strips
- You notice the paint lifting or discolouring during your DIY attempt
- The vehicle has an aftermarket or specialty paint finish (matte, satin, chrome)
- You are dealing with a large fleet of vehicles and need efficient, consistent results
Benefits of Professional Vehicle Wrap Removal
Hiring a professional wrap removal service offers clear advantages:
Experience and Equipment: Professionals use commercial-grade heat tools, specialised solvents, and steam systems that safely tackle even the most stubborn, aged wraps.
Paint Safety Guarantee: Reputable detailers assess your vehicle’s paint condition first and adjust their approach accordingly, minimising any risk of damage.
Time Efficiency: What could take a DIYer a full weekend can be completed in hours by an experienced technician.
Complete Residue Removal: Professionals ensure every trace of adhesive is gone, leaving the surface fully prepared for repainting, rebranding, or a new wrap.
Post-Removal Treatment: Many professional services include paint decontamination and polishing as part of the package, restoring the paint to its best possible condition.
Conclusion
The process of how to remove car signage and vinyl wraps without damaging the paint is not easy. It needs proper understanding about when to remove it, choosing the right tools, applying heat correctly, and dissolving adhesive residue without scratching the paint, every step matters. The key to success is patience, and knowing when to bring in expert help.
When in doubt, or when the job is simply too risky to DIY, Wills Car Detailing is here to help. Our experienced team uses professional-grade tools and proven techniques to remove your vehicle wrap cleanly, protect your paint, and leave your car looking its best. Contact Will’s Car Detailing today to book your car signage removal and get a fast, affordable quote.
Frequently Asked Questions
What is the car wrap removal cost?
The cost of car wrap removal varies by vehicle size, wrap age/condition, complexity. Different companies offer different prices. Wills Car Detailing offers transparent, affordable pricing after a vehicle inspection, ensuring you only pay for necessary services.
How to remove sun-baked vinyl wrap?
Sun-baked wraps need extended heat to soften brittle vinyl and adhesive. Use a heat gun or steam machine slowly before lifting the edges. After peeling, a stronger vinyl wrap removal solvent is applied to dissolve hardened adhesive residue.
How to remove car wrap adhesive?
Once the vinyl film is removed, use an adhesive remover or isopropyl alcohol on a soft cloth to gently work into the residue. Leave it for 30–60 seconds before wiping. Repeat if necessary. Avoid scraping with hard tools to prevent paint scratches.
How can I book car wrap removal near me?
Melbourne residents can contact Wills Car Detailing to book vehicle wrap removal by phone, via message, or through the online form. After receiving your details, we schedule an inspection and provide a clear quote before we start.